Texturing my Battle Arena
here are some screenshots of the texturing progress which brought the boring greybox to life.
UV Editor
Using UV editor I was able to position all the Shells (faces) of the object the way I wanted so they are easier to texture, for example placing walls that will have same colour texture next to each other.
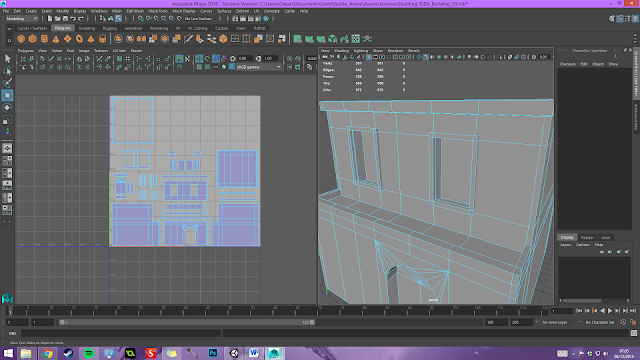
after I had all the faces positioned in the right order I could bake the texture and the ambient for high quality textures and import them into Photoshop.
Texturing
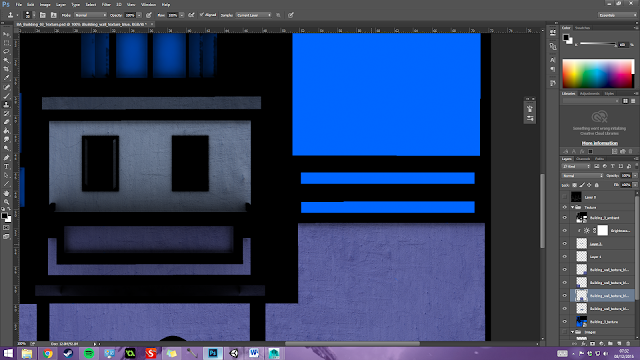
After setting all the images in my preferred layout, low opacity UV_Snap on top, Ambient texture under and the texture images in separate folder where I could duplicate them in to my working folder where I'd often use stump tool to mix textures and make unique variations of each walls so they all look different.
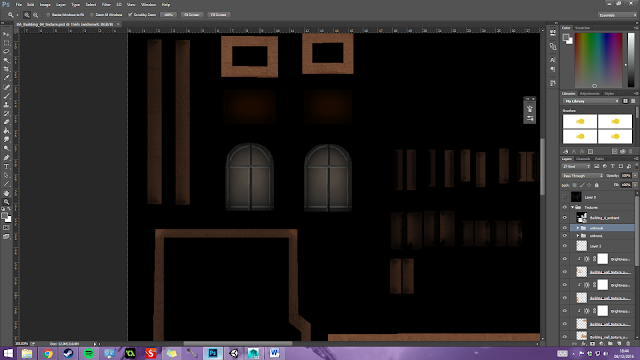
I textured every part of every building by hand using brushes and stump tool as well as cutting up textures, re-sizing them and adjusting different layer settings to make new details.
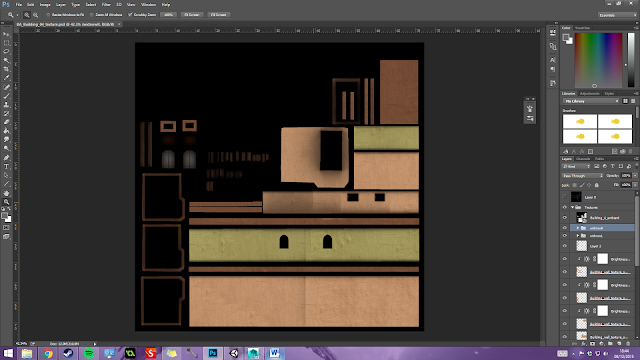
This is an example of half finished texture that I'd apply to a model in Unity engine to check if all walls and details looked right, when I saw that it needed adjustments I'd edit it more, else I'd proceed to add details like graffiti and dirt marks.
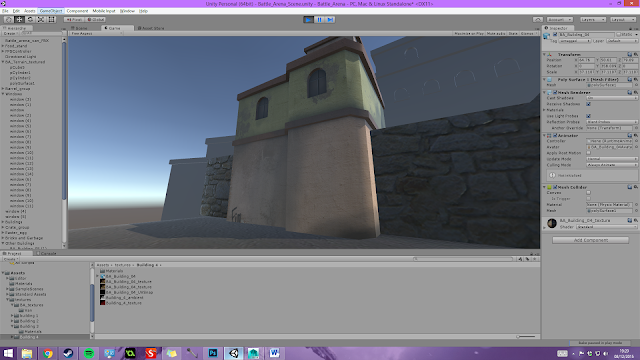
Finished texture on a model rendered in Unity engine.
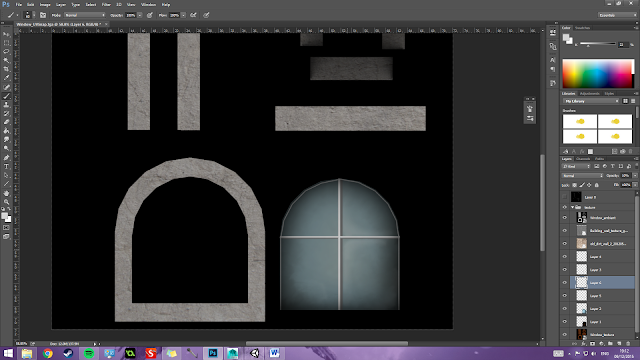
Many textures were drawn by hand using brush tools, for example this window texture has the glass section drawn by hand on multiple layers to make a illusion of depth and glass gloss and dirt.
(I made multiple textures for this objects to add variety, some included curtains and more dirt)
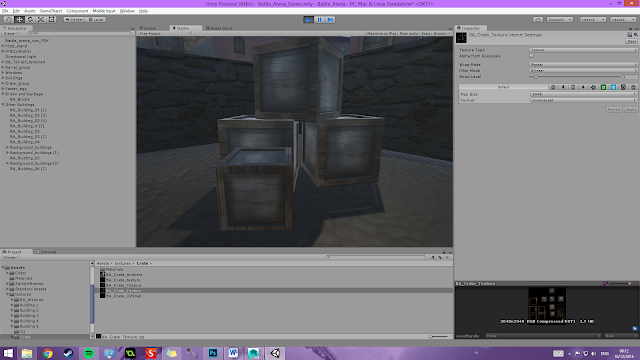
this is an example of the dirt effect effect which I made using 3 layers set to 20% opacity and a special rendering brush which I also adjusted to suite my needs.

Some textures like the main building being a Mosque or some type of Historical architecture where created using many different textures applied on top of each other and adjusted with stump tool and other colour adjustment tools to create unique patterns that'd fit the style of the building.
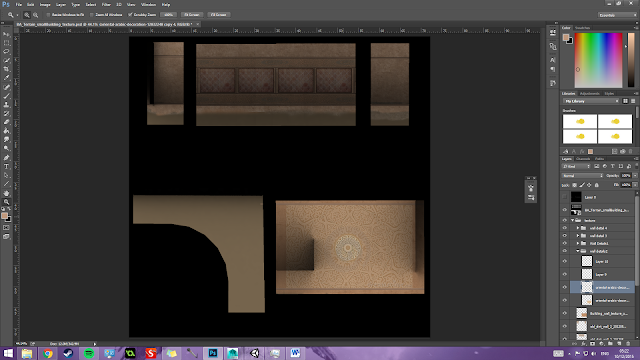
Texture for the front of the "Mosque" (half finished)
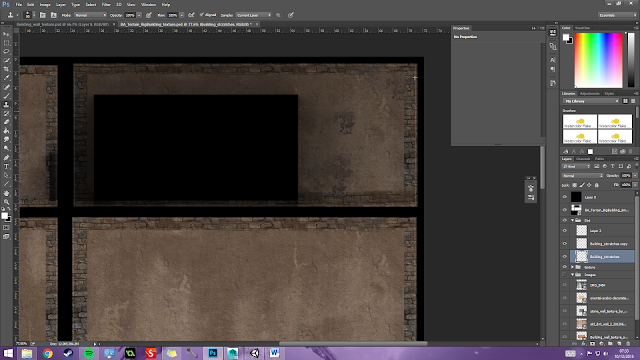
Texture of the back part of the building. (also not finished, used to test when previewing the texture in Unity to see imperfections)
showcase
Mosque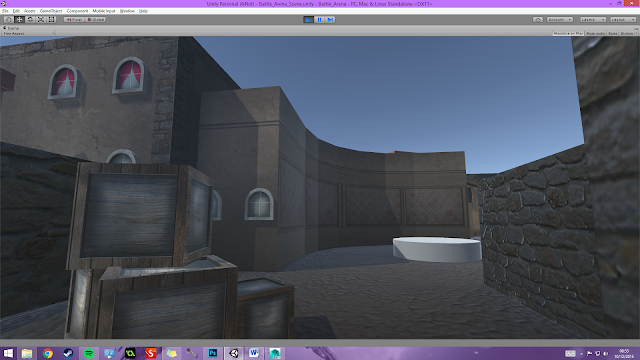
Market
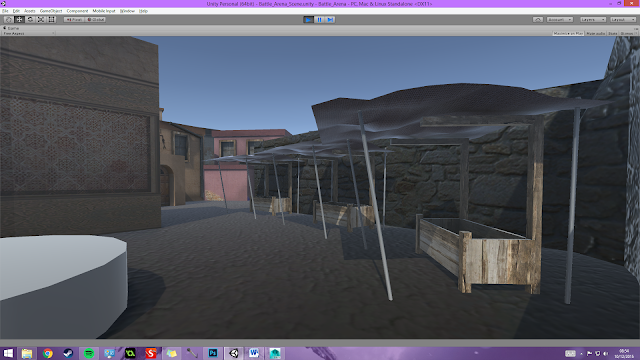
Van (without normal map)
View from ramp
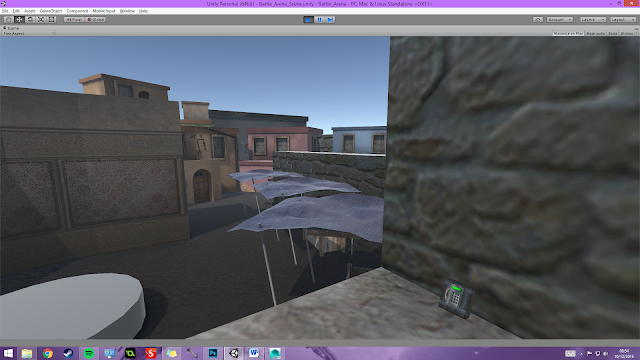
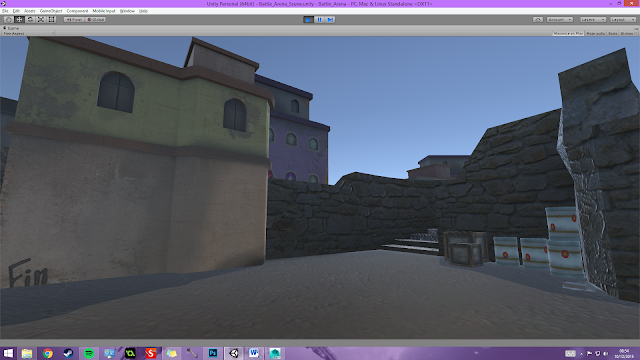
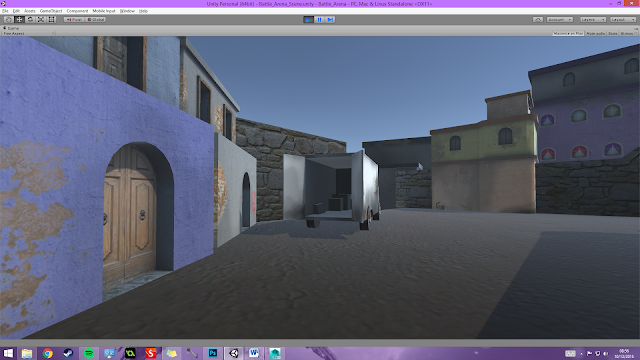
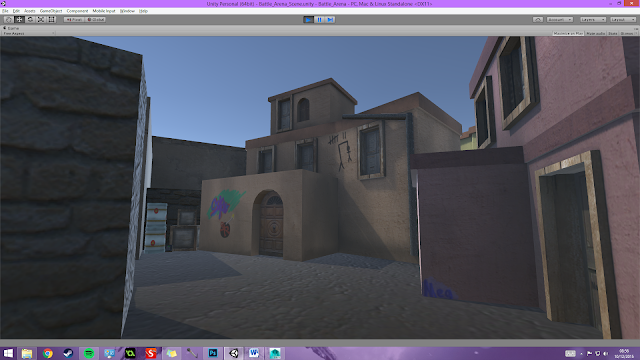
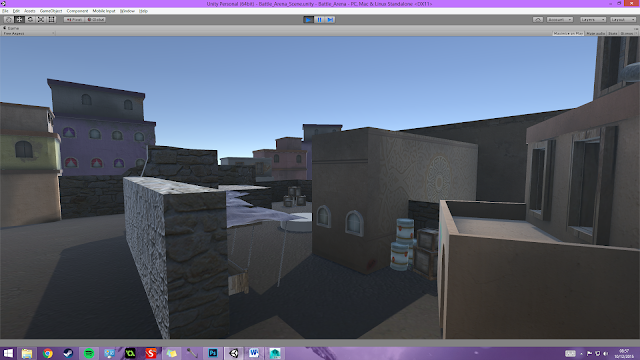
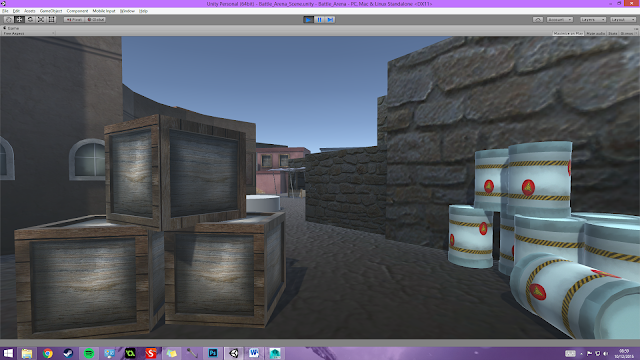
This is my first ever map created in 3D as well as first ever experience with texturing and modeling; but also using a Game Engine.


No comments:
Post a Comment